If you are unfamiliar with explosion-proof lights, you may not know where to start when shopping for them, and could end up making a blind choice. You might find yourself buying inferior products and regretting it later. To prevent this, it’s important to research online and learn how to properly select explosion-proof lights. Additionally, you should also familiarize yourself with the specific installation steps for these lights.
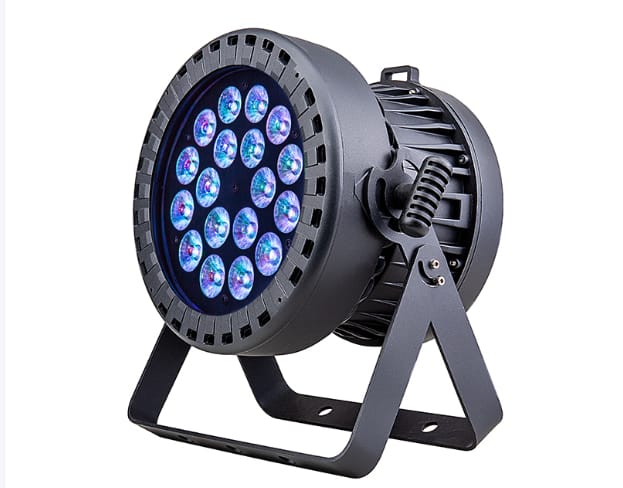
How to choose an explosion-proof lamp correctly
1. When selecting, we should first check whether the external packaging bears the corresponding explosion-proof mark, safety inspection mark, etc. Generally speaking, products of good quality are equipped with all these certificate marks! At the same time, we should read the product manual carefully to understand the installation and usage precautions as well as the limitations of the product. Additionally, if there is an “x” symbol after the explosion-proof certificate number, it indicates that the lamp has specific applicable locations. We should refer to the product manual and nameplate to clarify the requirements for applicable locations.
2. Due to the different environments in which various explosion-proof lamps are suitable for use, we must first consider the environmental conditions and our work requirements when selecting, and then reasonably choose explosion-proof lamps with various functions. For example, the enclosure protection level of explosion-proof lamps used outdoors should be at least IP43 or above. In places where color discrimination is required, explosion-proof lamps with high-pressure mercury lamps and high-pressure sodium lamps cannot be used, as these two light sources have poor color rendering properties.
How to install an explosion-proof lamp?
Before installing explosion-proof lights, it is necessary to verify the following information from the nameplate and product manual: explosion-proof type, category, level, and group; protection level of the enclosure; installation method; and requirements for fasteners used for installation.
The installation of explosion-proof lights must ensure secure fastening. The fastening bolts should not be replaced arbitrarily, and the spring washers should be complete. When installing the sealing rings for dust and water prevention, they should be placed in their original positions.
At the cable entry point, the cable should be tightly fitted with the sealing gasket. The cross-section of the cable should be circular, and the surface of the sheath should be free of defects such as irregularities. Excessive cable entries must be sealed according to the explosion-proof type, and the compression nut should be tightened to ensure the entry is sealed.
1. Wall-mounted installation
First, mount the lamp body onto a wall or other support via the bracket (ensuring that the shading plate is directly above the bulb). Then, thread the cable through the connector, gasket, and sealing ring until it reaches the junction box (reserve a certain length of cable for wiring). **Tighten the connector and secure the screw.
2. Inclined boom type installation
Insert the connector through the cable, screw it into the steel pipe, tighten the set screw, and then guide the cable through the gasket and sealing ring until it reaches the junction box (reserve a certain length of cable for wiring convenience). Next, screw the lamp body into the connector, ensuring that the wiring terminal 11 of the junction box is facing downwards. After wiring, adjust the relative position of the copper connector and steel pipe to ensure that the shading plate is directly above the bulb, and then tighten the set screw.
3. Vertical boom installation
First, thread the connector through the cable, screw it into the steel pipe, and tighten the set screw. Then, thread the cable through the gasket and sealing ring in turn until it reaches the junction box (reserve a certain length of cable for wiring convenience). Next, tighten the lamp body to the connector and tighten the set screw.
4. Ceiling-mounted installation
Screw the 3/4 pair conversion joint into the ceiling-mounted conversion joint, and the joint into the 3/4 inch conversion joint. Tighten the set screws separately, then thread the cable through and install it on the ceiling. **Thread the cable through the gasket, seal, and finally into the junction box (reserve a certain length of cable for wiring). Then tighten the lamp body and the plug, and tighten the set screws.
Precautions for installation of explosion-proof lights:
1. When installing the lighting fixture at an angle, it is necessary to adjust the relative position of the connector and the steel pipe to ensure that the shading plate is directly above the bulb;
2. When installing and maintaining lighting fixtures, the power must be cut off first;
3. During use, it is normal for the surface of the lighting fixture to experience a certain temperature rise. The center of the transparent parts may have a higher temperature and should not be touched;
4. Only use electrical appliances provided by our company;
When replacing a bulb, use a bulb of the same type and wattage: if changing the bulb type or wattage, the corresponding ballast should be replaced accordingly.